4 min read
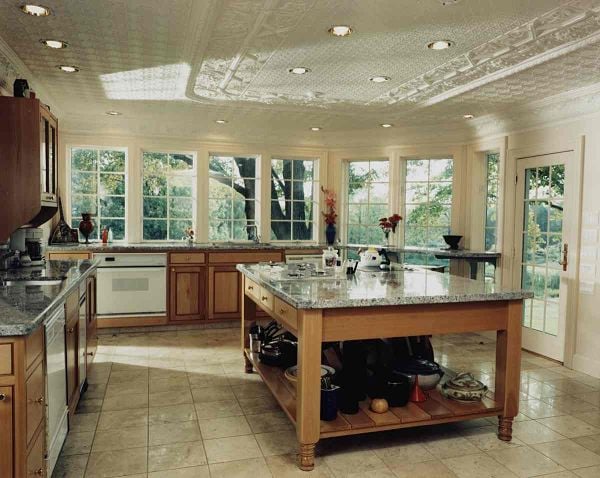
Kitchen islands provide a space for food prep, informal seating, storage, and can also be a location for appliances or a sink. When designing a kitchen island, it’s important to understand the basics, your needs and options. Here are five design tips to help you get started:
1. Kitchen Island Basics
Islands do not work well in every kitchen. The area of a kitchen should be at least 8-by-12 feet to accommodate an island. The National Kitchen and Bath Association (NKBA) recommends an aisle of 42 inches surrounding the island. This space allotment is especially important on sides that face appliances (i.e. ovens, stoves and dishwashers) where there are doors that open and you need room to work. Depending on the layout of the kitchen, the minimum aisle width should be at least 36 inches to be functional. The minimum counter width of an island should be 24 inches. The standard height for an island is 36 inches.

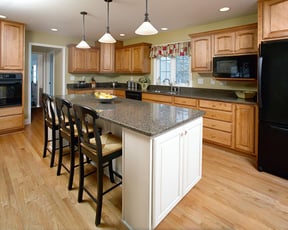
2. Kitchen Island Seating
Seating should be comfortable. Most islands are 36 inches in height to accommodate a cook. A standard dining room table is 28-to-30 inches while bar height is typically 40- or 42-inches. You will want to consider the height of your seating based on the island counter height.
A section for seating on an island can be created by adding an overhang or tier. In each option factor at least 12 inches of leg room beneath the counter and 24 inches of counter space for each person seated.
Island seating can also be created for a wheelchair, if needed, at the end of an island by adding a table height area that is open underneath for accessibility.
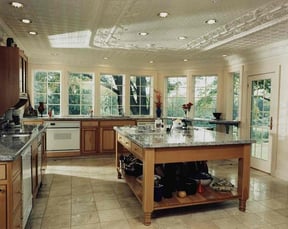
3. Island Storage
The original kitchen island was a farm table with open space underneath for storing crocks, pots and bowls. Today there are many cabinet options for islands. When selecting cabinets think about what you would want to store on the island and how you plan to store it. An island can be built with drawers: deep drawers for storing pots, pans, bake ware or dishes; and narrow drawers for utensils, cutlery or linens. It can also be created from base cabinets with pullout shelves and could include narrow cabinets to provide vertical storage for baking sheets and cutting boards. You many want to store small appliances or cookbooks on the island for easy access when preparing meals. If you plan to include cabinets in a seating area, store items used infrequently in that space.
While there are many possibilities, consider semi-custom cabinetry or custom cabinetry to optimize both functional storage and floor space.
4. Adding Cooktops and Other Appliances
It is important to talk with your contractor if you are considering adding appliances to an island. Your contractor is a resource for determining mechanicals and addressing installation issues before you buy appliances.
For safety, island cooktops should have 12 inches of counter space on each side and 9 inches behind to avoid burns. A cooktop will also require venting. Options include downdraft ventilation or overhead venting. Door swings of appliances should also be considered in planning the design. Electrical outlets can be added to an island to operate small appliances.
5. Adding a Sink
A sink on an island can serve many functions. It can be the main sink in a kitchen when paired with a dishwasher or a smaller prep or bar sink. Minimally a sink should be at least 16-by-16 inches and 8 inches deep to be useful in a kitchen.
Be mindful about faucets on an island. Single handle faucets are the most commonly used in kitchens. Pullout sprays make it easy to clean dishes and fill pots. The size and height of a faucet is also a consideration on a kitchen island. Would a high gooseneck faucet be an asset or a liability? Finally consider finishes. A sink on an island may be a focal point and the style and finish of the faucet can be an aesthetic element.

Related Posts
The Kitchen Triangle: Still Practical?
When you look at the placement of appliances in a kitchen, have you ever noticed the sink,...
6 Great Design Ideas for Kitchen Sinks
If you’re planning to remodel or update your kitchen, give some thought to the type of sink that...
How to Design a Kitchen for the Home Cook
People who love to cook know how important it is to have a kitchen that is both functional and a...